This year I participated in the Natural Cottage Workshop from September 28-Oct 11. http://naturalcottageproject.com/wordpress/
We built a cob cottage from foundation to rafters during this time and learned about how to go about putting in, or having the main systems put in, as well as discussing building permits and codes. There were design nights where individuals presented their plans an got feedback from the experts and other members of the group. Overall the course was thorough and informative and we all left feeling we had gained family.
We started with the foundation. The purpose of the foundation is to keep water away from the cob. Start by digging a trench, next add drainage with gravel and a drainage pipe/hose that slants away from the structure. The stem wall/knee wall needs to be 14-24 inches above grade. We completed the stem wall with natural stone and a basic cement mortar.
On day 2 we began mixing cob by foot. The mix was 2:1. 2 buckets of a sharp sand (here manufactured sand because it is very sharp and will hold together well) and 1 bucket of clay. Add water to desired consistency. We stomped and pushed the mix until it began to burrito when we lifted the tarp over. Next straw was added. To mix in the straw we used twisting movements.
The stone was wet with a brush or sponge and cob was laid onto it ensuring a level surface with no slumping shoulders. We left overhang on purpose so that it could be trimmed back to a more level surface and reduce the number of plaster coats required later.
At the end of the day this "spine and ribs" pattern left on top allowed quicker drying and quicker building the next day. Each day we could plan to build about 2ft higher. If too much wet cob is added the wall may slump and/or fall.
Here is a gringo block. This wooden block set in the wall allows for attachments. Gringo blocks may be set in a cob wall every 2ft where an interior wall will be to allow for attachment.
This is a drawing from lecture. On the bottom is a drawing of how to build on cob walls. The center of the three pillars shows shouldering (bad).
Here Christina is showing window placement with leveling an temporary supports until the windows are cobbed in. The windows have extra wood on the sides to key into the cob. A lintel will be placed over the windows to spread the load of the roof. Every column of cob that carries a load needs to be at least 2ft.
Here Christina is showing us "speed cobbing" where someone is throwing her chunks of tractor mixed cob and she is quickly thumbing in large amounts.
Our wall is growing!
Gringo blocks are attached to the side of this cabinet that is being cobbed into the wall, saving time and space. The wooden blocks securely key the cabinet into the cob.
The back of the cabinet has strings and wood to hold the cob. The smooth wood on the back of the cabinet will not hold the cob as well as the pointy sticks and string.
The front window area will have a built in bench.
We stripped, snedded, cleaned, and ground these poles. Then we learned to gouge the rafters to fit onto the main beams.
Here a cedar post was cut and sanded then oiled with a linseed oil blend to act as a lintel.
I snuck this picture in from another building. This cob fireplace heated the room on a rainy night and at breakfast the next morning the thermal mass of the fireplace and the roof were still letting off heat even though the building had open doors and windows. Here we worked on a cob floor and laid some earthen tile into the cob as well.
The bench and window area with lintels. I got to put in a shallow niche for some unsuspecting window bench reader to place her coffee on in the future.
My first niche!
This is where we got! Looking beautiful.
This workshop was a great experience and I plan to be blogging soon about my cob adventures at moonCatlife!

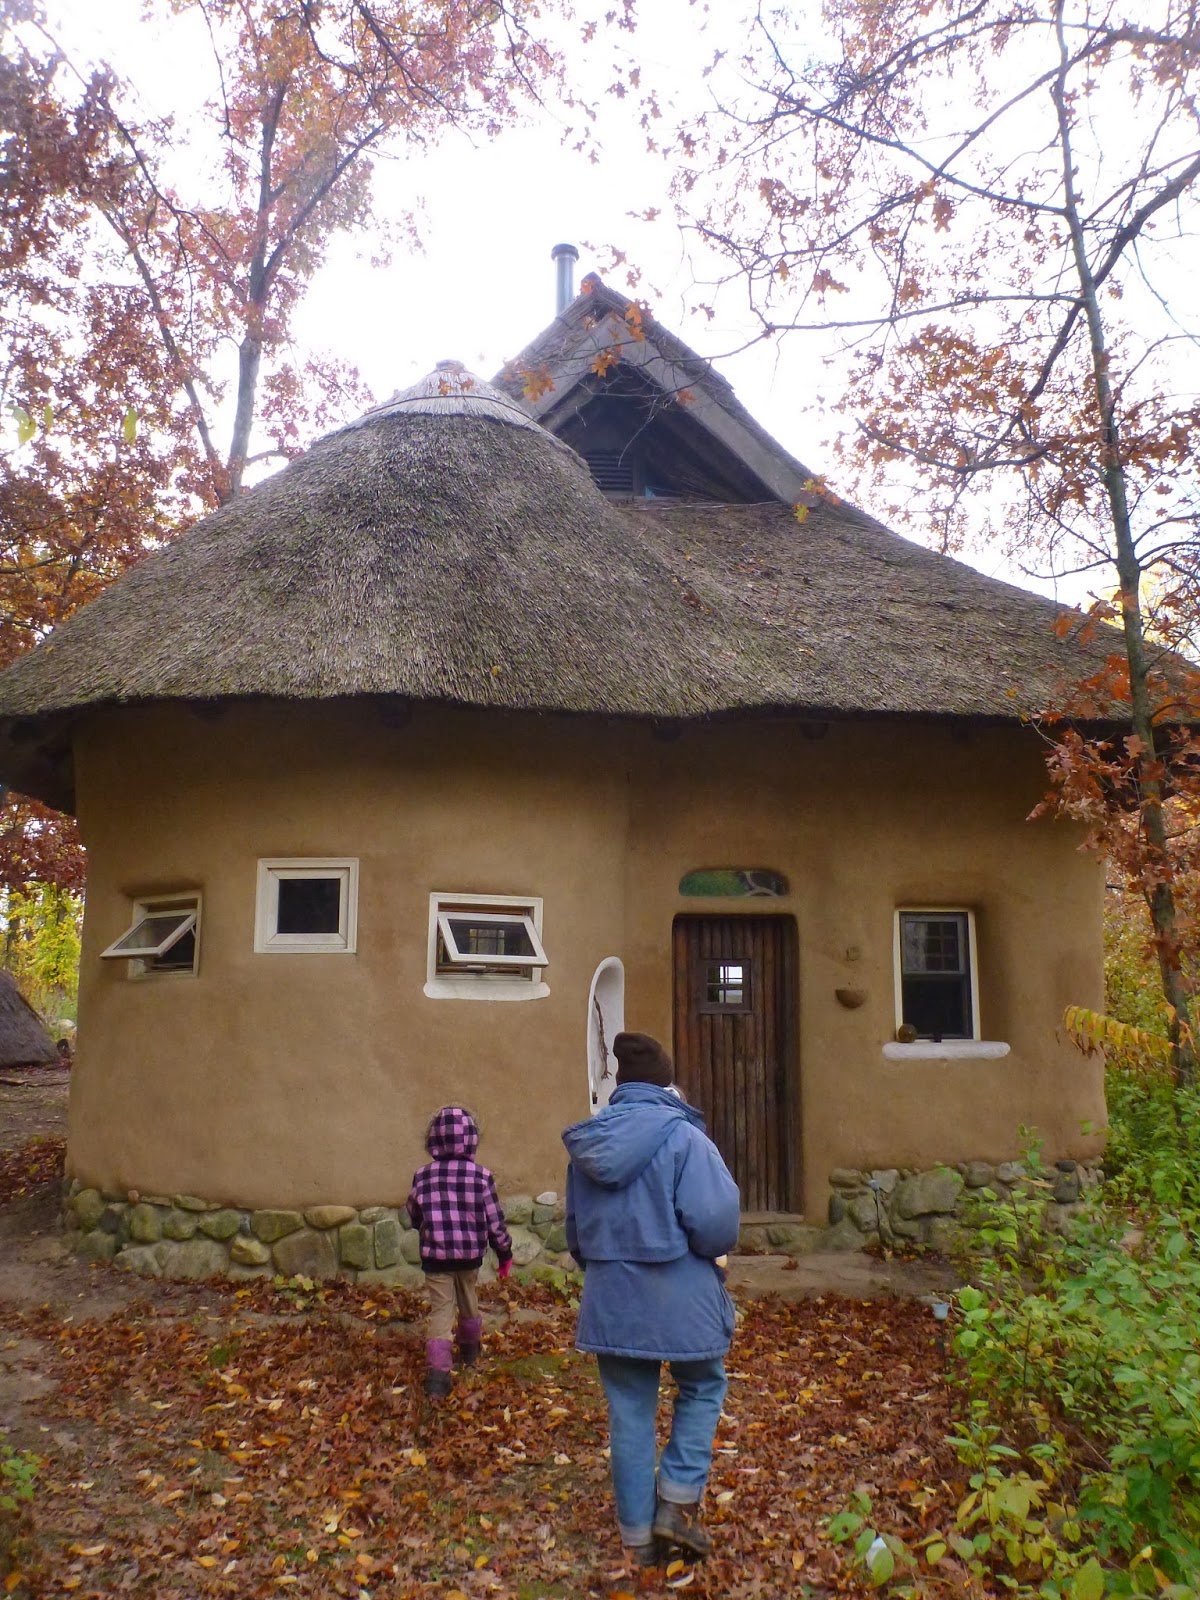
 This is a picture inside The Strawbale Studio sculpted out of cob. I like the branch added at the top.
  Deanne and Phoenix in front of the in-progress hobbit sauna.
 Holes for pipe inside the sauna where the wood burning stove will go.
  A fish sculpted on the side of the rocket stove.
 A spiral hut
 Inside the children's house. The floor has the exhaust of the rocket stove running through heating it.
 Deanne at her rocket cookstove made of thrown together bricks
 One thing I love about Deanne--everything is useful and everything is art.